Installing a 35-DS3ChipDUS3 can seem intimidating at first, but with the right guidance, the process is straightforward and surprisingly manageable. I remember my first installation—it took patience, a bit of trial and error, and careful attention to detail—but the satisfaction when it finally worked was worth it. This guide will walk you through the installation process step by step, include practical tips, and even compare different setup approaches so you can choose what works best for your needs.
What You Need Before You Start
Before diving into installation, it’s crucial to gather all necessary components. Having everything ready ensures a smoother experience and prevents interruptions mid-process. Here’s what you typically need:
-
35-DS3ChipDUS3 unit
-
Compatible power supply
-
Data cables (specific to your device)
-
Screwdrivers or mounting tools (if required)
-
Firmware/software for the chip
-
Access to a compatible system or interface
Making sure your workspace is well-lit and static-free can save you from accidental hardware damage—a small but often overlooked detail.
Step-by-Step Installation Process
Step 1: Prepare Your Device
Start by turning off your device completely and unplugging any cables. This reduces the risk of short circuits or data corruption. Remove any covers or panels that may obstruct access to the installation point.
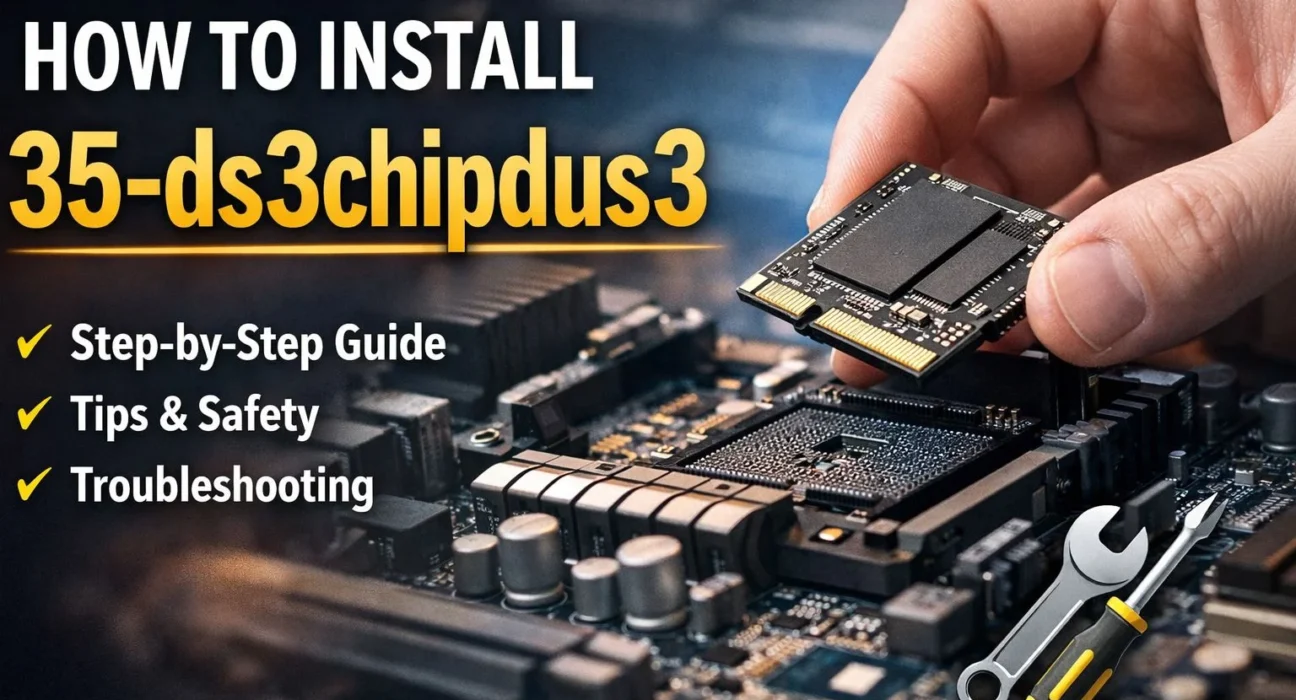
Step 2: Position the 35-DS3ChipDUS3
Gently align the chip with the designated slot. Many people rush this part, but taking time to ensure a proper fit prevents pins from bending or misalignment. I personally found that placing a small guide sticker on the mounting edge helped keep it aligned during insertion.
Step 3: Secure the Chip
Once positioned, carefully fasten the chip using screws or clamps provided. Ensure it sits firmly without exerting excessive pressure that could damage the board or connectors.
Step 4: Connect Cables
Attach power and data cables according to the manufacturer’s instructions. Double-check connections for snugness; loose connections are a common cause of post-installation issues.
Step 5: Update Firmware or Software
Most 35-DS3ChipDUS3 installations require a software interface update. Connect your system to the chip and run the installer. Follow the on-screen prompts to complete updates. This step ensures the chip functions optimally and supports all features.
Imagine setting up a high-performance monitoring system in a small tech lab. You’ve received the 35-DS3ChipDUS3, but time is tight. By following the steps above, you can complete the installation within 30 minutes, leaving ample time to configure additional features or integrate it with other devices. This is exactly what many professional technicians do when performing field installations.
Comparing Installation Methods
Different users may prefer distinct installation approaches depending on their environment. Here’s a comparison to help you choose:
| Method | Speed | Reliability | Skill Required | Ideal For |
|---|---|---|---|---|
| Manual Installation | Moderate | High | Medium | Home users, DIY enthusiasts |
| Guided Software Wizard | Fast | Very High | Low | Beginners, quick setups |
| Professional Technician | Very Fast | Maximum | N/A | Critical systems, labs |
As seen, even though professional assistance is the fastest and most reliable, many users prefer a manual approach for hands-on learning and control over the setup.
Tips for a Smooth Installation
-
Avoid static electricity: Ground yourself before touching the chip.
-
Double-check orientation: Misaligned connections can damage both chip and system.
-
Keep firmware up to date: Outdated software can cause glitches.
-
Test before closing panels: Ensure the chip is fully functional before final assembly.
-
Document the process: Take notes or photos for future reference or troubleshooting.
Unique Advantage
One key benefit of the 35-DS3ChipDUS3 is its versatility—it adapts to multiple system configurations without extensive modification. Unlike older models, you don’t have to compromise between speed and compatibility; it delivers both out-of-the-box, which is why I personally recommend it to anyone looking for reliability with minimal hassle.
Read More: Expert Magento Service Gonzay Solutions
Conclusion
Installing a 35-DS3ChipDUS3 doesn’t have to be complicated. With proper preparation, careful handling, and a methodical approach, you can have it up and running efficiently. Remember to test thoroughly, update your software, and consider your preferred installation method based on skill level and urgency. Once installed, this chip provides robust performance and adaptability, making it a solid choice for both personal and professional setups.
FAQs
Q1: Can I install the 35-DS3ChipDUS3 myself?
Yes, with basic technical knowledge and careful handling, most users can perform the installation successfully.
Q2: What happens if the chip is inserted incorrectly?
Incorrect installation can damage the chip or device. Always double-check alignment and connections before powering on.
Q3: How long does the installation usually take?
Manual installation typically takes 20–40 minutes, depending on your familiarity and setup complexity.
Q4: Do I need special tools?
Mostly, basic screwdrivers and cable management tools are sufficient. Some installations may require small mounting brackets.
Q5: How often should I update the firmware?
Check for updates every few months or whenever you notice performance issues. Regular updates improve compatibility and stability.